Do you need to trigger events after a set duration, display a countdown for a level, or show how long a player has survived? These are common scenarios in game development where timers are essential.
If that sounds like what you’re building, then you might want to learn how to create a timer in Unity. In this guide, we will explore how to build a clean and reliable timer that you can reuse in different parts of your project without adding unnecessary complexity.

Build a Flexible Timer System in Unity
In this tutorial, we’ll create a reusable timer system that you can adapt for countdowns, stopwatches, or other time-based mechanics in your game. The core logic will live in a base script, and we’ll extend it with a countdown implementation.
Once the scripts are ready, we’ll wire the timer to a TextMeshPro UI label, configure it in the Inspector, and run the scene to watch the timer count down in real time.
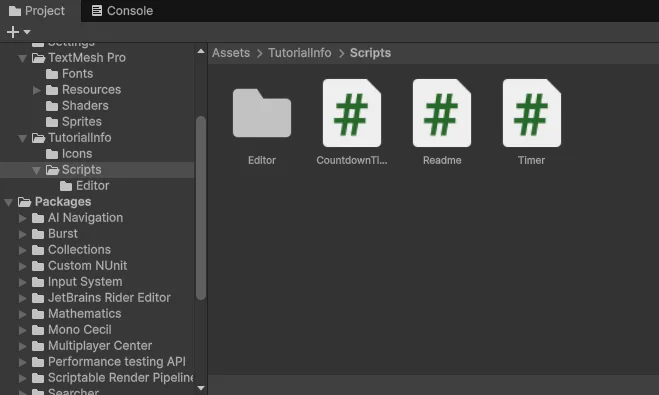
Step 1: Create the Scripts
Start by creating the Timer script by right-clicking inside your Scripts folder. Select Create > Scripting > MonoBehavior Script. Once created, open the script and replace everything with this code:
Timer SCRIPT
using UnityEngine;
using TMPro;

public abstract class Timer : MonoBehaviour
{
    [SerializeField] protected TextMeshProUGUI _text;
    [SerializeField] protected float _timeRemaining = 10f;
    [SerializeField] protected int _decimals = 0;
    [SerializeField] protected bool _isCountingDown = false;

    void Update()
    {
        if (!_isCountingDown) return;

        _timeRemaining -= Time.deltaTime;

        if (_timeRemaining <= 0)
        {
            _timeRemaining = 0;
            _isCountingDown = false;
            TimerEnded();
        }

        UpdateText();
    }

    public void StartTimer(float duration)
    {
        _timeRemaining = duration;
        _isCountingDown = true;
    }

    protected abstract void TimerEnded();

    protected virtual void UpdateText()
    {
        _text.text = _timeRemaining.ToString($"F{_decimals}");
    }
}
This script serves as the base for any timer you want to create. The _timeRemaining field holds how many seconds are left, and _isCountingDown controls whether the timer is active.
In Update(), Time.deltaTime is subtracted from each frame to keep the countdown frame rate independent. When the timer hits zero, it stops and triggers the TimerEnded() method, which you will define in the child class.
The UpdateText() method refreshes the UI label with the current time, and the $”F{_decimals}” formatting lets you control how many decimal places are shown.
CountdownTimer SCRIPT
Next, we create the child script. Select Create > Scripting > Empty C# Script. Once created, open the script and replace everything with this code:
public class CountdownTimer : Timer
{
    protected override void TimerEnded()
    {
        Debug.Log("Countdown finished!");
    }
}
This script inherits from Timer and implements the TimerEnded() method. Right now, it simply logs a message when the countdown finishes, but you can expand this to trigger events, start animations, or load new scenes when the timer runs out.
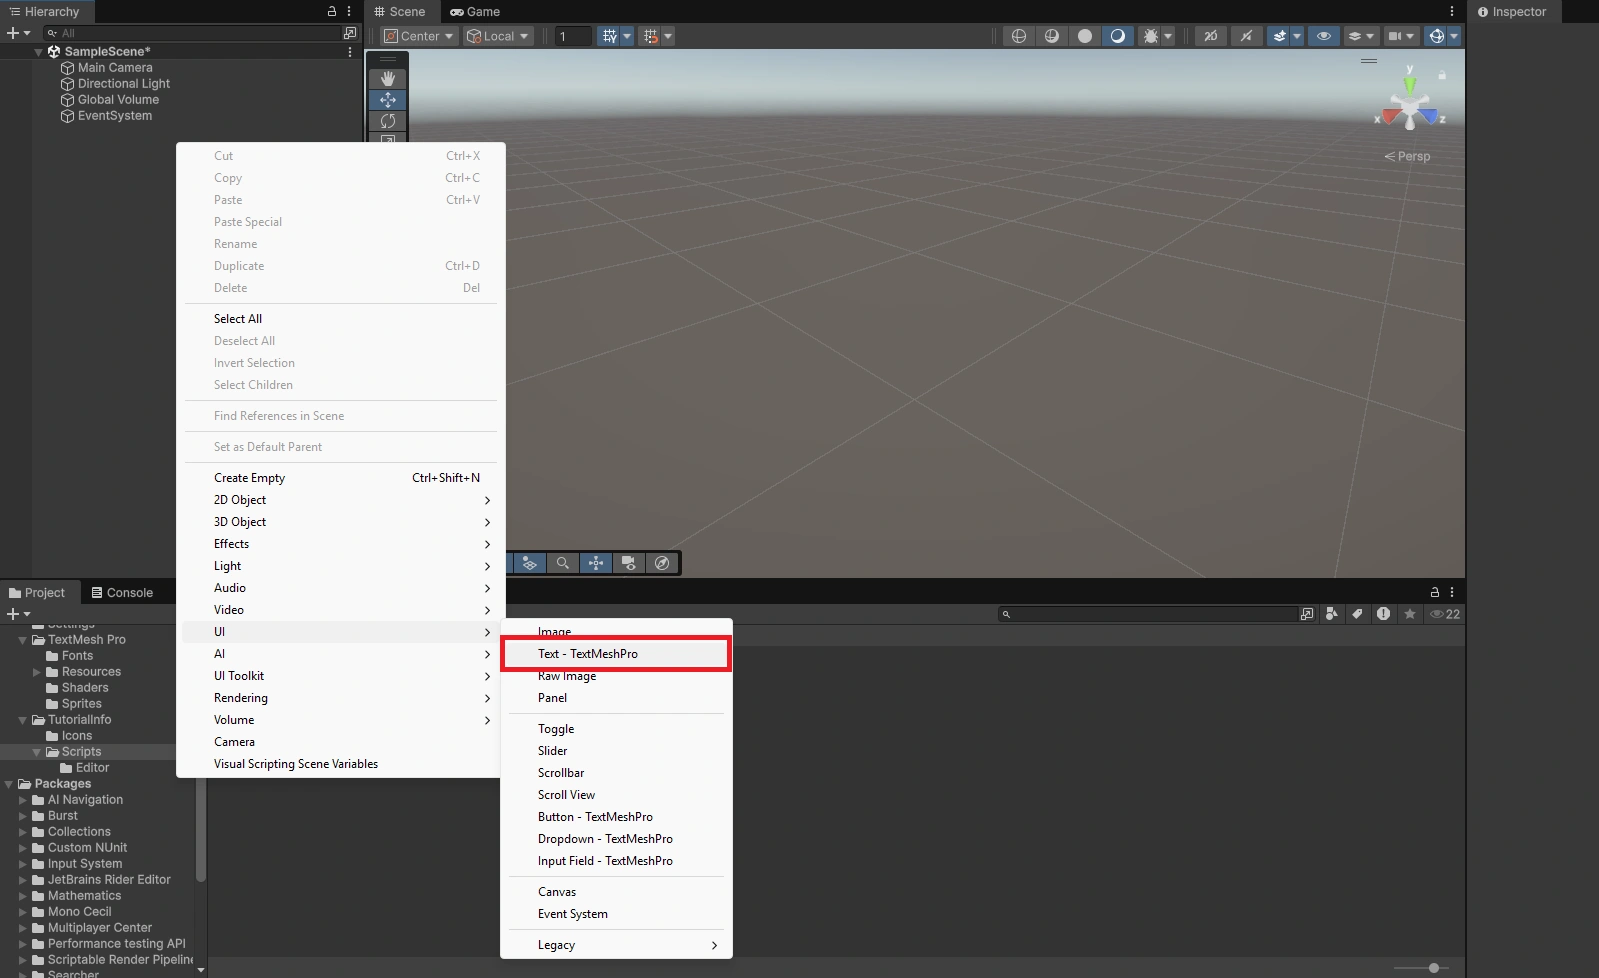
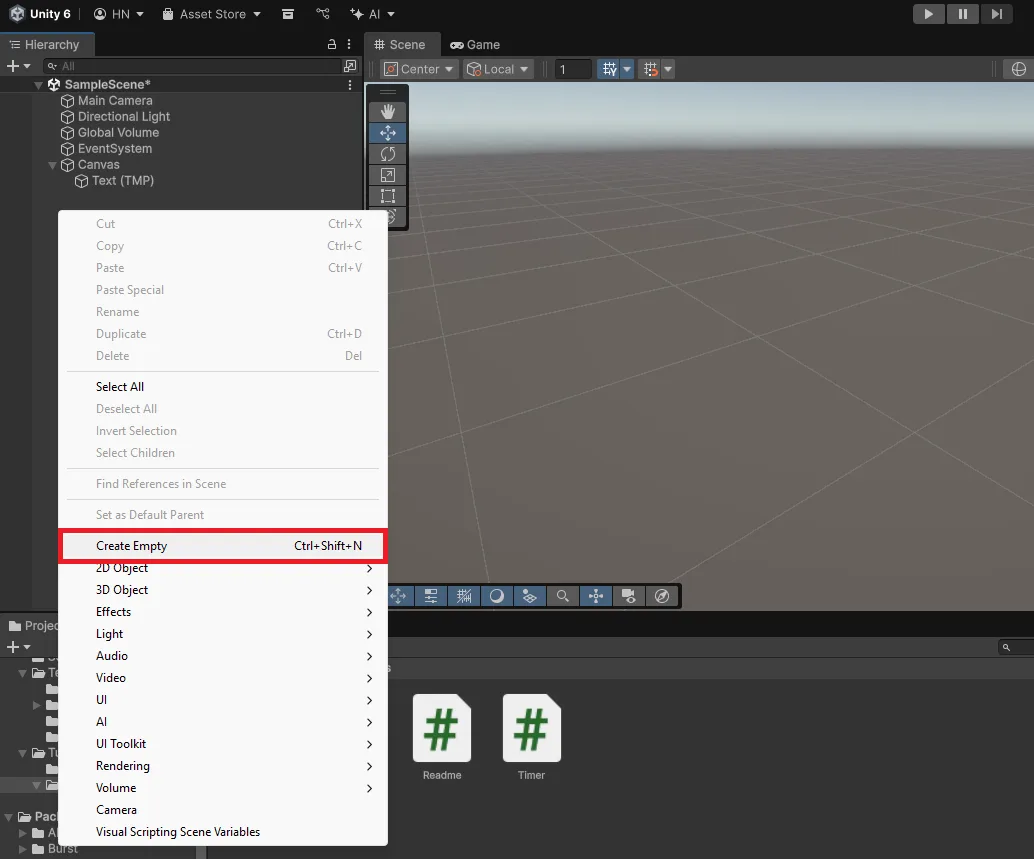
Step 2: Add Scene Objects
Now that the scripts are ready, the next step is to set up the scene so the timer has something to display. We’ll add a TextMeshPro label for the countdown and create a manager object to run the script.
- In the Hierarchy, right-click and choose UI > Text > TextMeshPro. When prompted, import TMP Essentials. Unity will create Canvas and Text (TMP).
Note: If you couldn’t find it or getting errors, TMP Essentials isn’t imported. Import it via Window > TextMeshPro > Import TMP Essentials.
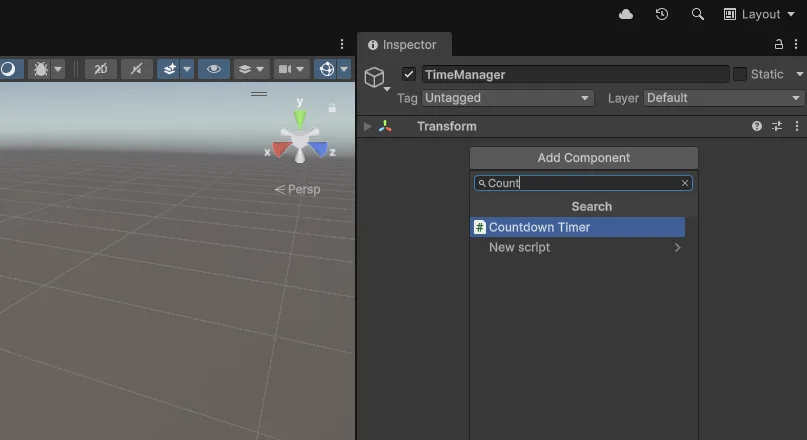
- In the Hierarchy, right-click and choose Create Empty. Rename it TimerManager.
- With TimerManager selected, click Add Component and attach CountdownTimer.
Step 3: Wire Everything in the Inspector
With the scene objects in place, the next step is to connect the UI text to the timer script and set its starting values so the countdown can run correctly.
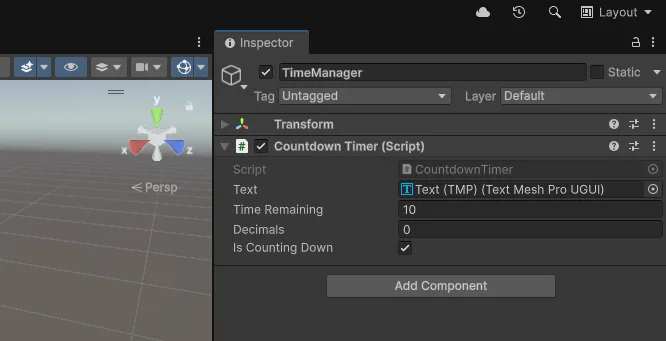
- Select TimerManager in the Hierarchy and look at the CountdownTimer (Script) component in the Inspector.
- Drag the Text (TMP) object from the Hierarchy into the Text field of the script.
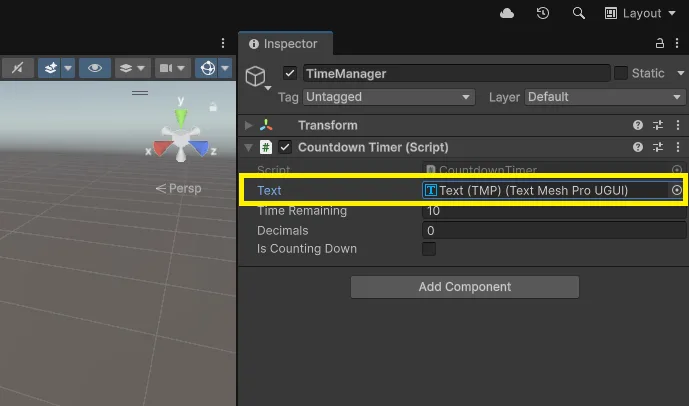
- Set Time Remaining to 10 for a 10-second countdown.
- Set Decimals to 0 to display whole numbers.
- Check the box Is Counting Down to start the timer immediately when you press Play.
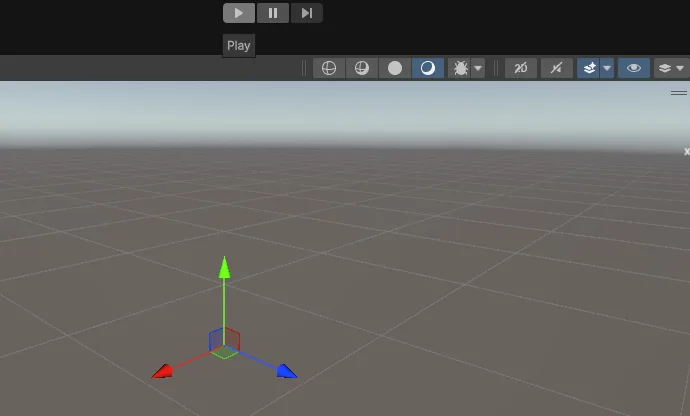
Final Step: Test the Timer
With everything wired up, it’s time to see the timer in action.
- Click Play in the Unity Editor.
- Watch the TextMeshPro label begin counting down: 10, 9, 8… each second.
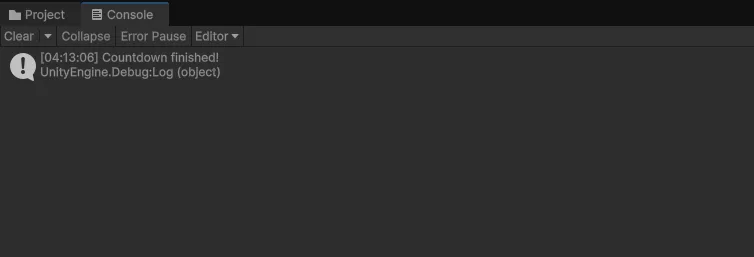
- When the timer reaches 0, the countdown stops and logs “Countdown finished!” in the Console.
Wrapping Up
Because the logic is handled in a reusable base script, you can extend it for custom behaviors without rewriting your core code. As a best practice, keep timers modular and consistent across your project.
Use clear variable names, always reset or stop timers explicitly to avoid unexpected behavior, and prefer TextMeshProUGUI for better text rendering. This approach keeps your code clean, scalable, and easier to maintain as your project grows.